Teaching bridge design: a three-lesson unit for the classroom
A truss bridge is one of the cleanest vehicles for the engineering design process: the criteria fit on a card, the test is unambiguous and a second attempt is always better than the first. This page lays out a suggested one-week or three-lesson sequence with assessment questions, a rubric and safety notes.
The engineering design process in three lessons
The suggestion below is one way to spread the engineering design process across a week; a teacher with only three lessons can run it as three, and a teacher with five can give the build and the redesign a lesson each. The loop is the same in every version: define the problem, propose a design, test it, read the result, change one thing and test again.
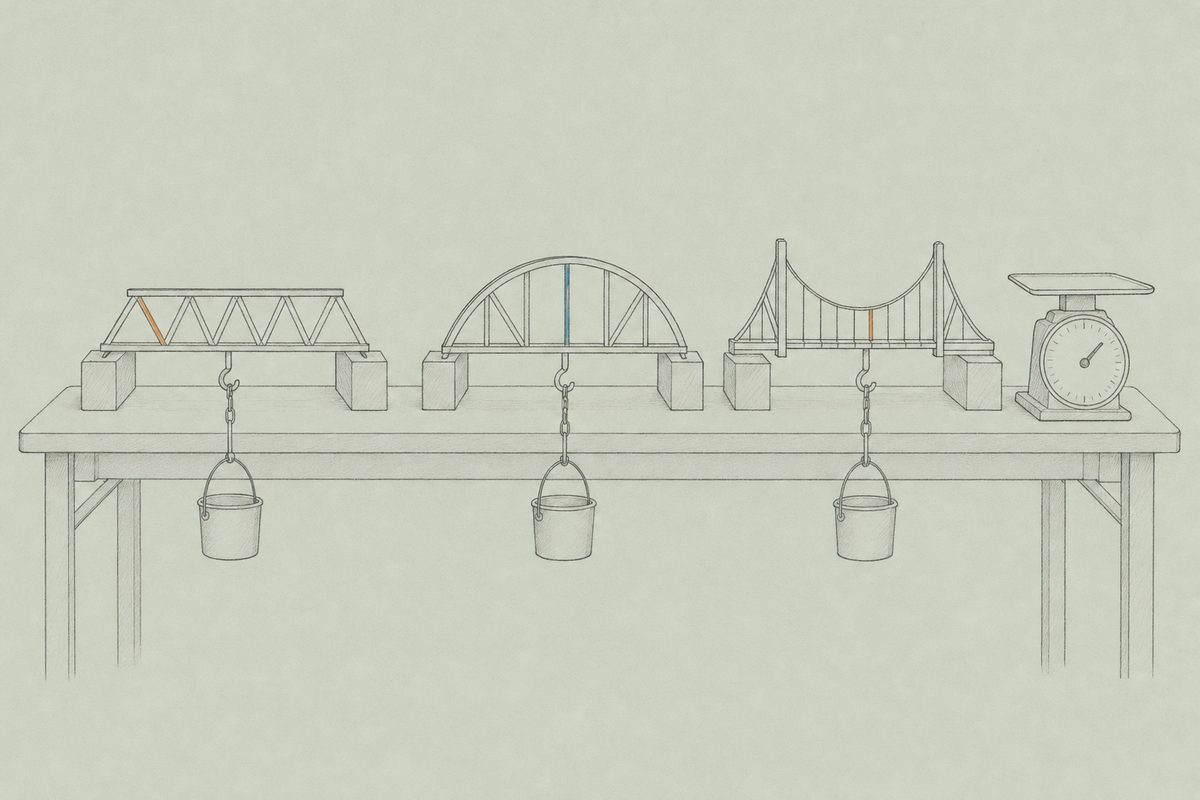
Lesson 1: criteria, constraints and the browser designer. Open with the task on a card: span the gap, carry the load, spend as little as possible. Students write down the criteria (what the bridge must do) and the constraints (what limits them), then open the truss bridge designer. The presets are all 12 m long and 3 m high with 20 kN on the bottom joints. Each student loads a preset to failure, notes which member went first and sketches a change. The designer needs no accounts and stores nothing about the student, so a class can start in a minute.
Lesson 2: forces in tension and compression. Using the colours the designer shows, warm for tension and cool for compression, students predict which members push and which pull before reading the numbers. The page on tension and compression supplies the explanation, including why a slender member in compression buckles under a load far below the one that would yield it. Stronger students can follow a joint calculation on the method of joints page.
Lesson 3: build and test a model. Groups build a Warren truss from craft sticks, following the model bridge building sheet, test it with a hanging load and compare load divided by mass. Where time allows, a second round after a written redesign proves the point of the process better than any explanation.
Plan the timing before the first lesson. Lesson 1 can easily run long, because breaking virtual bridges is fun; set a limit of two or three failures per student and ask for a written prediction before each one. The prediction is what turns play into the engineering design process, because a student who predicted the wrong member has something to explain.
Keep the load case identical across the class during lesson 1, so that results can be compared on the board. Twenty-odd students loading the same Warren preset will not all choose the same fix, and that spread is the best material for a short discussion at the end of the period: which change raised the failure load most, and what did it cost in extra members?
Where the ASCE browser edition fits
The ASCE Bridge Designer, Cloud Edition, is a free browser program that scores a steel truss by cost. It keeps work in the browser’s local storage, so students on shared machines should note down their member sizes.
Two orderings work. The browser designer on this site first gives students the force picture, then the ASCE edition adds cost as a criterion, which turns the exercise into a real trade-off. Or the ASCE edition leads, and the designer here explains why the cheapest members are the ones that nearly failed. Either way, the build and test lesson is the one students remember.
The iteration loop and assessment questions
The aim of iteration is to see a failure as data. After each test, a student records the failed member, the load, the mass and one proposed change, and the change goes into the next version only if it answers the failure. A bridge that failed in the top chord is not fixed by stronger glue.
Questions that separate understanding from copying:
- Which member in your truss carries the largest force, and is it in tension or compression?
- Why did the first member to fail fail in that way: yield, buckling or joint?
- What changed in the second version, and what evidence says it helped?
- Where would you put 10 percent more steel?
- Why is load divided by mass a fairer score than load alone?
A short rubric keeps marking consistent.
| Criterion | Developing | Secure | Strong |
|---|---|---|---|
| Criteria and constraints | Listed without reference to the task | Listed and used to choose a layout | Used to justify trade-offs between options |
| Reading forces | Names members but not tension or compression | Identifies tension and compression correctly | Explains why a member failed from the force it carried |
| Testing | One test, result recorded | Controlled test, load and mass recorded | Repeat tests, one change per version |
| Redesign | Changes not tied to the failure | Change aimed at the member that failed | Change tested and its effect measured |
| Communication | Result stated | Result and reason stated | Result, reason and next step supported by data |
Differentiation and extensions
Some groups finish the model early. Give them a constraint rather than more work: build the same span with a limit on the number of sticks, or with no member longer than one stick, or with a mass cap. Each constraint forces a trade-off of the kind a real design office faces, and each can be checked in the designer first.
Students who want the mathematics can calculate one member force by hand on the method of sections page and compare it with the designer’s figure, which was itself checked against hand calculations. Students who need more support can work only with the colours, tension warm and compression cool, and describe in words which parts of the bridge are being squeezed.
Close the test with a written reflection, collected the same day while the failure is fresh. Ask each student for a paragraph that names the first member to fail, gives the load and mass from the record, and says what the next version will change and why.
Standards note
The unit supports two performance expectations from the Next Generation Science Standards. MS-ETS1-4: “Develop a model to generate data for iterative testing and modification of a proposed object, tool, or process such that an optimal design can be achieved.” HS-ETS1-4: “Use a computer simulation to model the impact of proposed solutions to a complex real-world problem with numerous criteria and constraints on interactions within and between systems relevant to the problem.” The standards and their supporting documents are published at nextgenscience.org.
Safety when testing a model to failure
Break tests are the point of the exercise and the main hazard. Students wear eye protection while a bridge is loaded, with a clear zone and a padded catch box as set out on the model bridge building sheet. Hot glue is hot, and craft knives need a cutting mat and a settled room.
Nothing in the browser designer carries any such risk, and nothing in it collects data: no accounts, no stored work and no tracking of who tried what. To turn the unit into a competition, see the classroom bridge design contest page for rules and scoring.
Questions5
How long does a bridge design unit take?
Three lessons is a workable minimum: one for criteria and the browser designer, one for forces, one for a model build and test. A full week lets the model go through two rounds of test and redesign, which is where most of the learning in the engineering design process happens.
Do students need accounts to use the truss designer?
No. The truss bridge designer needs no sign-up, stores nothing about students and keeps nothing on a server. A design is shared by copying the link, which carries the design in its address.
Where does the ASCE browser edition fit?
It suits a cost-scored software challenge, in which students design a steel truss and watch a simulated truck test it. The designer on this site shows member forces and loads a truss to failure. Used together, one gives the cost competition and the other explains the forces.
Which standards does a bridge unit address?
The unit fits two Next Generation Science Standards performance expectations, MS-ETS1-4 for middle school and HS-ETS1-4 for high school. Both are quoted in full in the standards section above, with a link to the source.
How do I run a class contest from this unit?
Fix the span, the supports and the load, give everyone the same materials and rank by cost or by load divided by mass. The classroom bridge design contest page has a rules template, a test procedure and a record sheet.
Next sheets5
- Truss bridge designer lesson 1: draw, load and break a truss in the browser
- Tension and compression lesson 2: reading the forces
- Model bridge building lesson 3: materials, testing and scoring
- Classroom bridge design contest rules, scoring and a record sheet
- Factor of safety a question set for stronger students